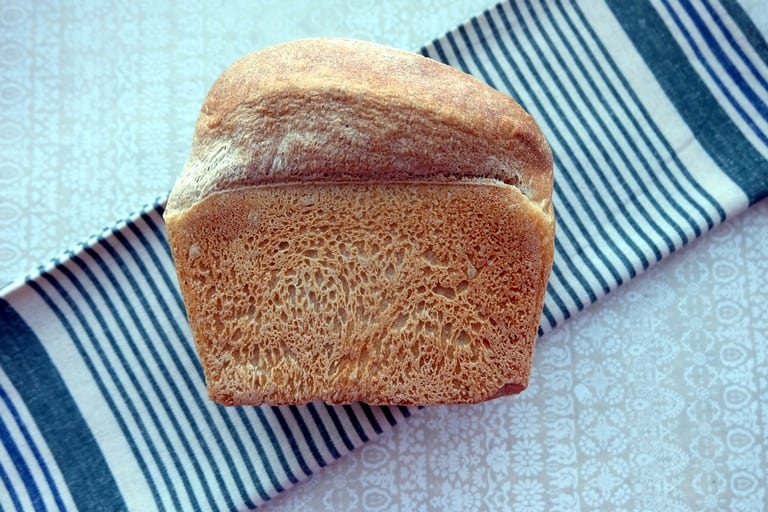
If you are new to baking bread, here is a simple recipe for an easy white sandwich bread bloomer, a great recipe for beginners in bread making. This basic white bloomer bread recipe is guaranteed to spark your love for bread baking. Perfect for families with the need for a constant supply of fresh sandwich bread. No need to buy the industrial pre-sliced loaf that comes with added processing aids, emulsifiers or preservatives and is made far too fast with too much yeast. Take note that only four ingredients (flour, water, salt and yeast or natural leaven) are required to make bread.

Why bake at home?
Here are some reasons why you might want to venture into baking your own bread at home.
- You’d like to eat bread based on the four basic bread baking ingredients, knowing exactly what’s in it and allowing it sufficient time to rise with a small amount of yeast
- You want to fill the house with the smell of freshly baked bread – rather than the bin with plastic wrapping
- You’d like to bake homemade bread that’s perfect for sandwiches and toast in the morning
- You want – like my brother in law – to bake the very best vehicle for your PB&J sandwiches
- Or you simply can’t be bothered to go to the store/supermarket for bread
Equipment
Here is all the equipment you’ll need to make a basic white bread bloomer:
- Large mixing bowl with lid
- Electronic kitchen scales
- Dough scraper
- 1.3kg (3lb) bread loaf tin
- Bread knife
- Wire rack

White Bloomer Bread Recipe
Ingredients
- 750 g strong white wheat flour - get the best strong white wheat flour you can buy preferably organic
- 480 g water tepid
- 7 g dried yeast
- 13 g salt
No need to add sugar or butter or milk or oil as suggested in many recipes - keep it simple
Instructions
How to make white bloomer bread
- Combine all ingredients in the large mixing bowl and - with your hands - form a rough dough
- With your dough scraper, turn out the rough dough onto a clean working surface and knead by hand for at least 10 minutes until the dough has become elastic and smooth. Have a jug of water next to you when kneading and wet your hands every now and then to keep the dough well hydrated.
- Shape the dough into a ball and place back into the bowl, cover with the lid and leave to rest for about 45 minutes at room temperature. During this time, the dough should grow in volume significantly.
- Punch down the dough and shape into a loaf which fits into the loaf tin well.
- Place into the loaf tin and cover with a plastic bag, leaving room for the dough to rise at the top, so you avoid the dough sticking to the plastic.
- Leave to proof for 1 hour or so until the dough has roughly doubled in size.
- Preheat the oven to 200°C for at least 15 minutes.
- Place the loaf tin (without the plastic bag) in the oven (on a shelf that leaves ample room at the top for the bread's "oven spring").
- Bake for 10 minutes, then turn the heat down to 180°C and bake for another 35 minutes.
- Cool the white bloomer bread loaf on a wire rack.
