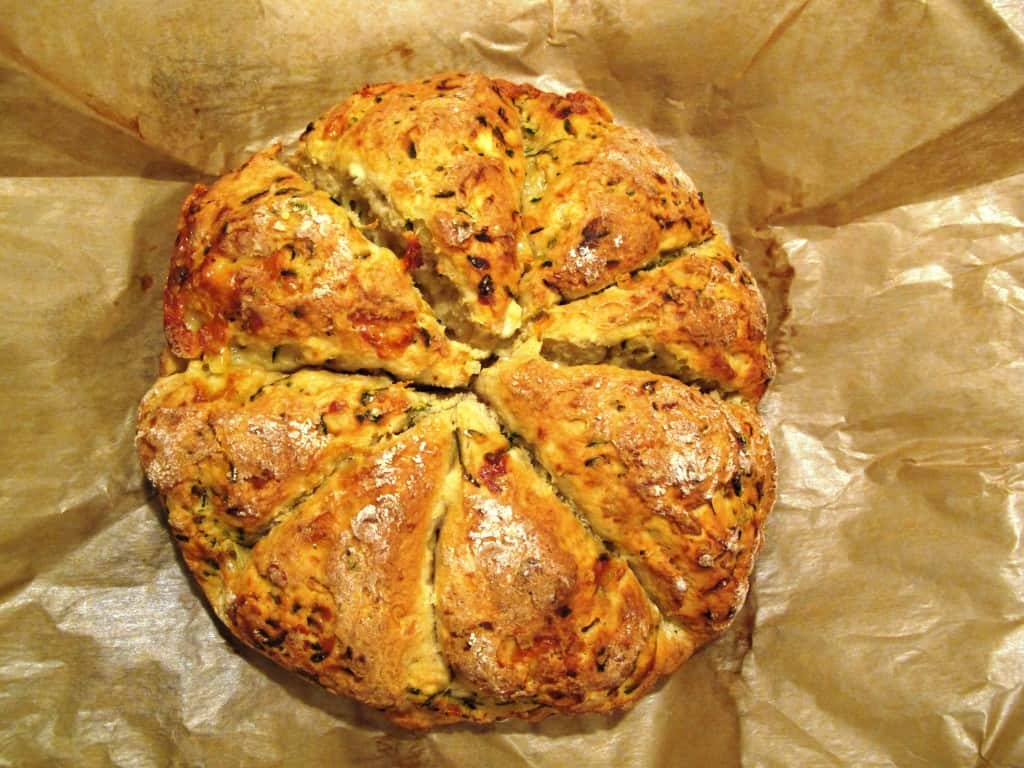
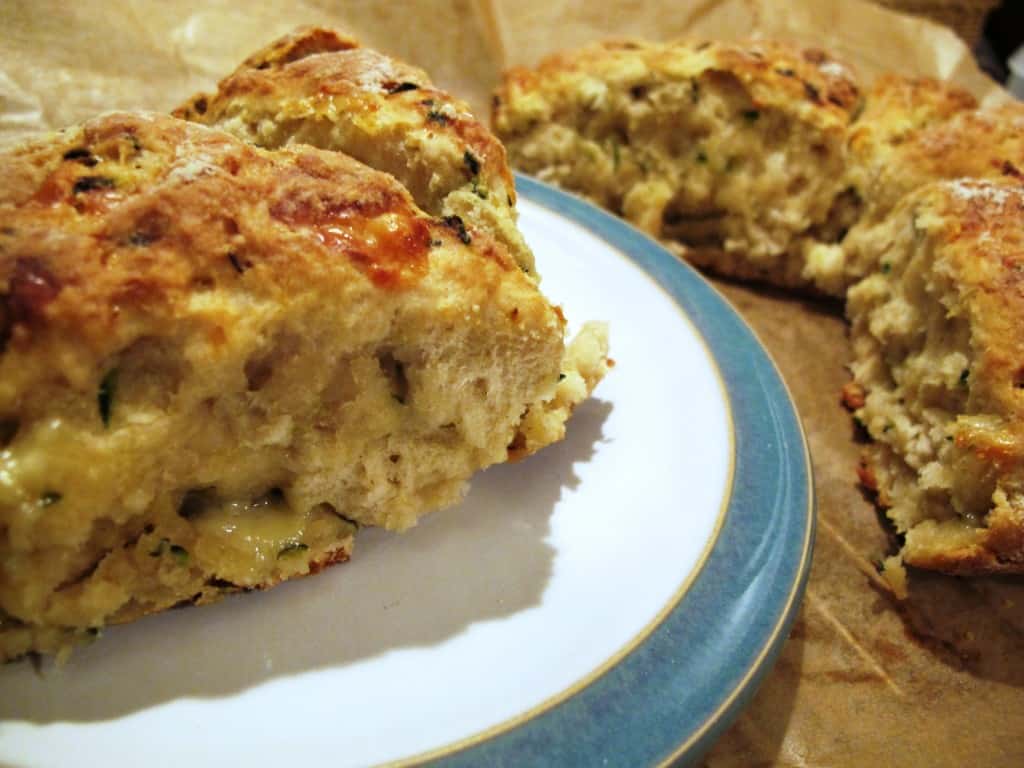
With Australia Day and the Australian Open final at the same weekend, I looked into traditional Australian bread recipes and decided to give the Aussie damper a go.

Traditional simplicity
Traditionally, Aussie damper bread was…
- A staple bread for Australians who were travelling in remote areas of the Australian outback for long periods of time in colonial times
- Developed out of necessity, a lot of Aussie dampers were made with whatever was available
- A very simple unleavened bread made with (easily portable) wheat flour, salt and water
- Baked in the hot coals/ashes of a campfire – buried in a pot or wrapped around a stick – it’s called damper because the campfire is damped to allow the dough to be cooked over the ash-covered hot coals
- Eaten with dried or cooked meat, sometimes spread with golden syrup – and Billy Tea (http://www.billytea.com/)
Modern deliciousness
I’ve changed the original recipe considerably moving away from the the original damper’s three-ingredient simplicity and replacing wheat with rye flour. This damper is quick and easy to prepare and can be baked in your oven at home or when out camping. It will taste better (more like ‘the real thing’) if baked in a campfire 🙂

The recipe uses milk instead of water, adds butter to add richness and self-raising flour for leavening.
Ingredients
- 250g light rye flour
- 1 tsp bicarbonate of soda
- 1/2 tsp salt
- 200g buttermilk (you can also use 100ml milk mixed with 100g yoghurt or 190g milk mixed with 2 tbsp of lemon juice)
- 1 tbsp olive or rapeseed oil
- Some extra flour for dusting
- 1 small onion, grated
- 1 garlic clove, grated
- 50g celeriac, grated
- 50g mature cheddar, cut into 5mm cubes or grated
For the damper dough
- In a large bowl mix the flour, bicarbonate of soda and salt with a balloon whisk.
- Add the butter using your fingertips to rub the little cubs into the flour until the mixture resembles fine breadcrumbs.
- Slowly add the milk and mix to form a soft, non-sticky dough.
- Add the onion, garlic and celeriac mix and cheddar and carefully knead until evenly distributed.
- Knead until smooth (this can be done in the bowl or on a clean, lightly floured work surface) – just one or two minutes should be enough.
- Shape into a round loaf.
- Brush with milk.
- Lightly flour the handle of a wooden spoon and make deep indents into the dough top (press the handle almost to the bottom of the dough) to mark 8 wedges on top.
To cook in the oven
- Preheat the oven to 200°C.
Shape into a round loaf. - Brush with milk.
- Lightly flour the handle of a wooden spoon and make deep indents into the dough top (press the handle almost to the bottom of the dough) to mark 8 wedges on top.
- Grease and dust a round cake tin.
- Bake for 30 – 40 minutes until golden.
- The bottom should sound hollow when tapped.
To bake in the ashes of a campfire (in a pot or layers of foil)
- Grease and dust a fire-proof cast-iron pan.
- Add the loaf and cover.
- Alternatively, place in at least five layers of tin foil. Make sure you get all the air out between dough and foil.
- Place in the hot coals of your campfire and cover with hot ashes and coals. The fire should have burnt down to just coals, no big flames.
- Bake for about 25 minutes.
To bake in a campfire (on a stick)
- Divide into six equal pieces and roll into a 20cm long snake shapes.
- Wrap the dough snakes around dry, clean sticks (bamboo canes and hazel rods work well) in a spiral. Make sure the dough is safely attached to your stick and leave enough room on one end of the stick to hold on to and not burn your hands.
- Hold over the embers of the campfire, turning frequently, until evenly cooked, golden brown and crisp, for about 10 minutes.
Tastes great with olive oil and balsamic vinegar, salted butter or vegemite.