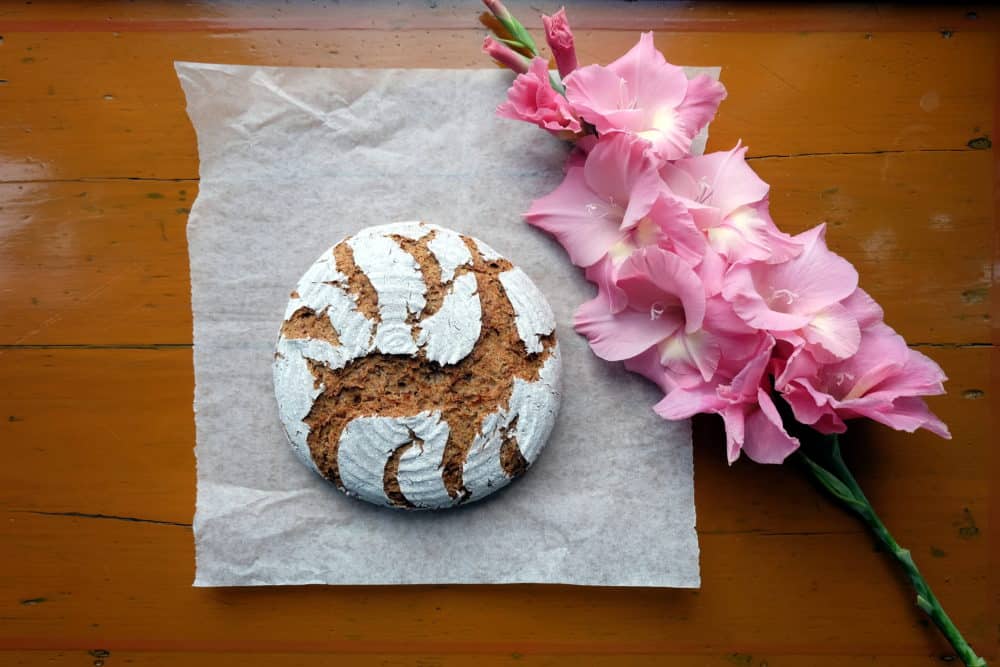
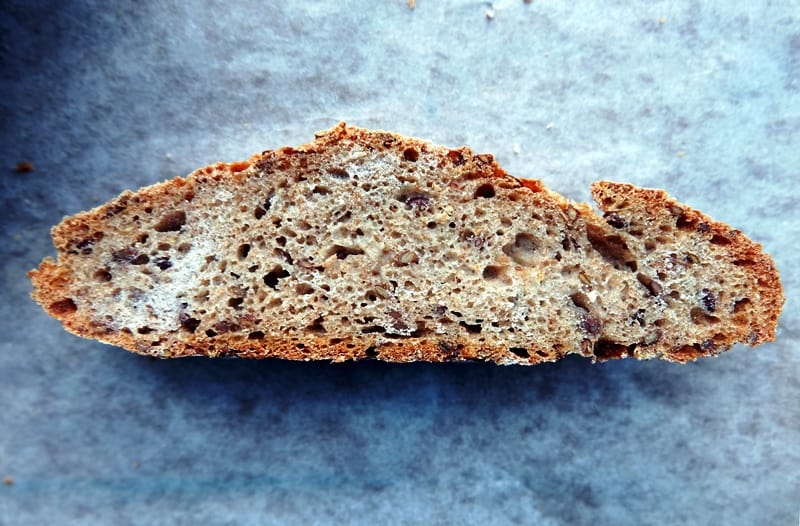
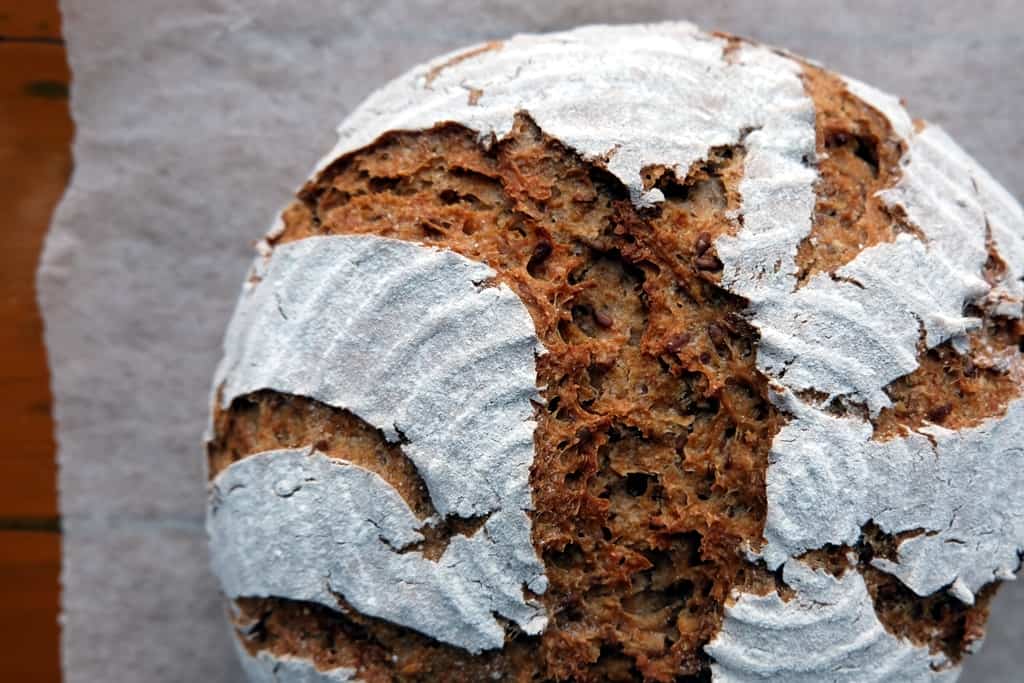
Packed with great tasting flax seeds, this flaxseed bread recipe is one of my current favourites. I love baking with rye and use both wholemeal rye flour as well as whole wheat and white wheat flour in the recipe. The result – a robust loaf of wholesome brown bread filled with crunchy seeds. Delicious with butter and jam for breakfasts or as a side to creamy vegetable soups.

Thanks to the way the seeds are soaked, the bread will stay extra-moist for days after baking. It also tastes delicious when toasted as the heat will bring out the nutty flavour of the seeds. Give it a go – you’ll love it!
The mighty flaxseed…
There are two basic varieties of flax seeds: brown and yellow/golden. Nutritionally, they are very similar; both types are a great source of dietary fibre, antioxidants and a type of omega-3 fat.
It’s important to soak the seeds before baking (see another example of this technique in my Kamut flour bread recipe). If flax seeds are not soaked, they absorb moisture from the bread and dry out the crumb quickly.

Flaxseed bread recipe
My recipe was inspired by the Flaxseed Bread in Jeffrey Hamelman’s book ‘Bread: A Baker’s Book of Techniques and Recipes‘ and uses both sourdough as well as a small amount of dried yeast.

Ingredients – for 1 flax bread loaf
- 30g sourdough starter
- 175g dark wholemeal rye flour
- 100g whole wheat flour
- 175g strong white flour
- 90g flax seeds
- 430g water
- 8g salt
- 5g dried yeast
How to make flaxseed bread
Day 1
- Prepare the sourdough by combining 30g sourdough starter, 50g dark rye flour, 50g wholewheat flour and 100g water in a medium bowl. Mix well then cover with a lid. Leave to rest at room temperature for 16 – 24 hours.
- For the flaxseed soaker, combine 90g flax seeds with 200g cold water in a small bowl. Cover and set aside until needed.
Day 2
- Combine all ingredients: 200g of the sourdough (rest goes back into the fridge for your next bake), 125g dark rye flour, 50g whole wheat flour, 175g strong white flour, 130g water, the flaxseed soaker, salt and dried yeast in a large bowl.
- Knead for 10 minutes. Have some extra water ready as you might need to wet your hands and the worktop a few times depending on the dough’s consistency. You should end up with a soft, slightly sticky dough.
- Shape the dough into a ball, place it into a bowl and keep it covered for 1 or 2 hours – it should have quite visibly risen by then.
- Give the dough a quick 10 second knead, lightly flour the dough surface all over and place it into a lightly floured proving basket.
- Cover with a polythene bag and keep in a warm place for another hour or more until it has expanded significantly and is fully proved.
- Preheat the oven to 240°C – if using a La Cloche baking dome, preheat at the same time from cold.
- Turn the loaf out onto a baking tray lined with baking paper or the La Cloche baking dome bottom.
- Bake for an initial 15 minutes, then lower the temperature to 220°C and bake for another 30 to 35 minutes.
- Cool on a wire rack.
- A tip by Hamelman: “For the best eating quality, cover the cooled loaf with baker’s linen and let stand at room temperature for at least several hours or up to 24 hours before slicing.”